> ## Documentation Index
> Fetch the complete documentation index at: https://docs.xpertai.cn/llms.txt
> Use this file to discover all available pages before exploring further.
# 开发接口
数字专家提供了一组 API 及 [SDK](https://github.com/xpert-ai/xpertai-sdk) 用于开发者与专家智智能体进行交互。这些 API 使您可以创建自定义应用程序,以便与数字专家的智能体进行通信。
Xpert 智能体接口遵循 [Agent Protocol](https://langchain-ai.github.io/agent-protocol/api.html) 标准,这是一种用于智能体之间通信的协议。Agent Protocol 为智能体提供了一种通用的方式来交换消息,以便于智能体之间的互操作性。
* 首选为访问专家智能体的程序创建一个 Key,用于身份验证。
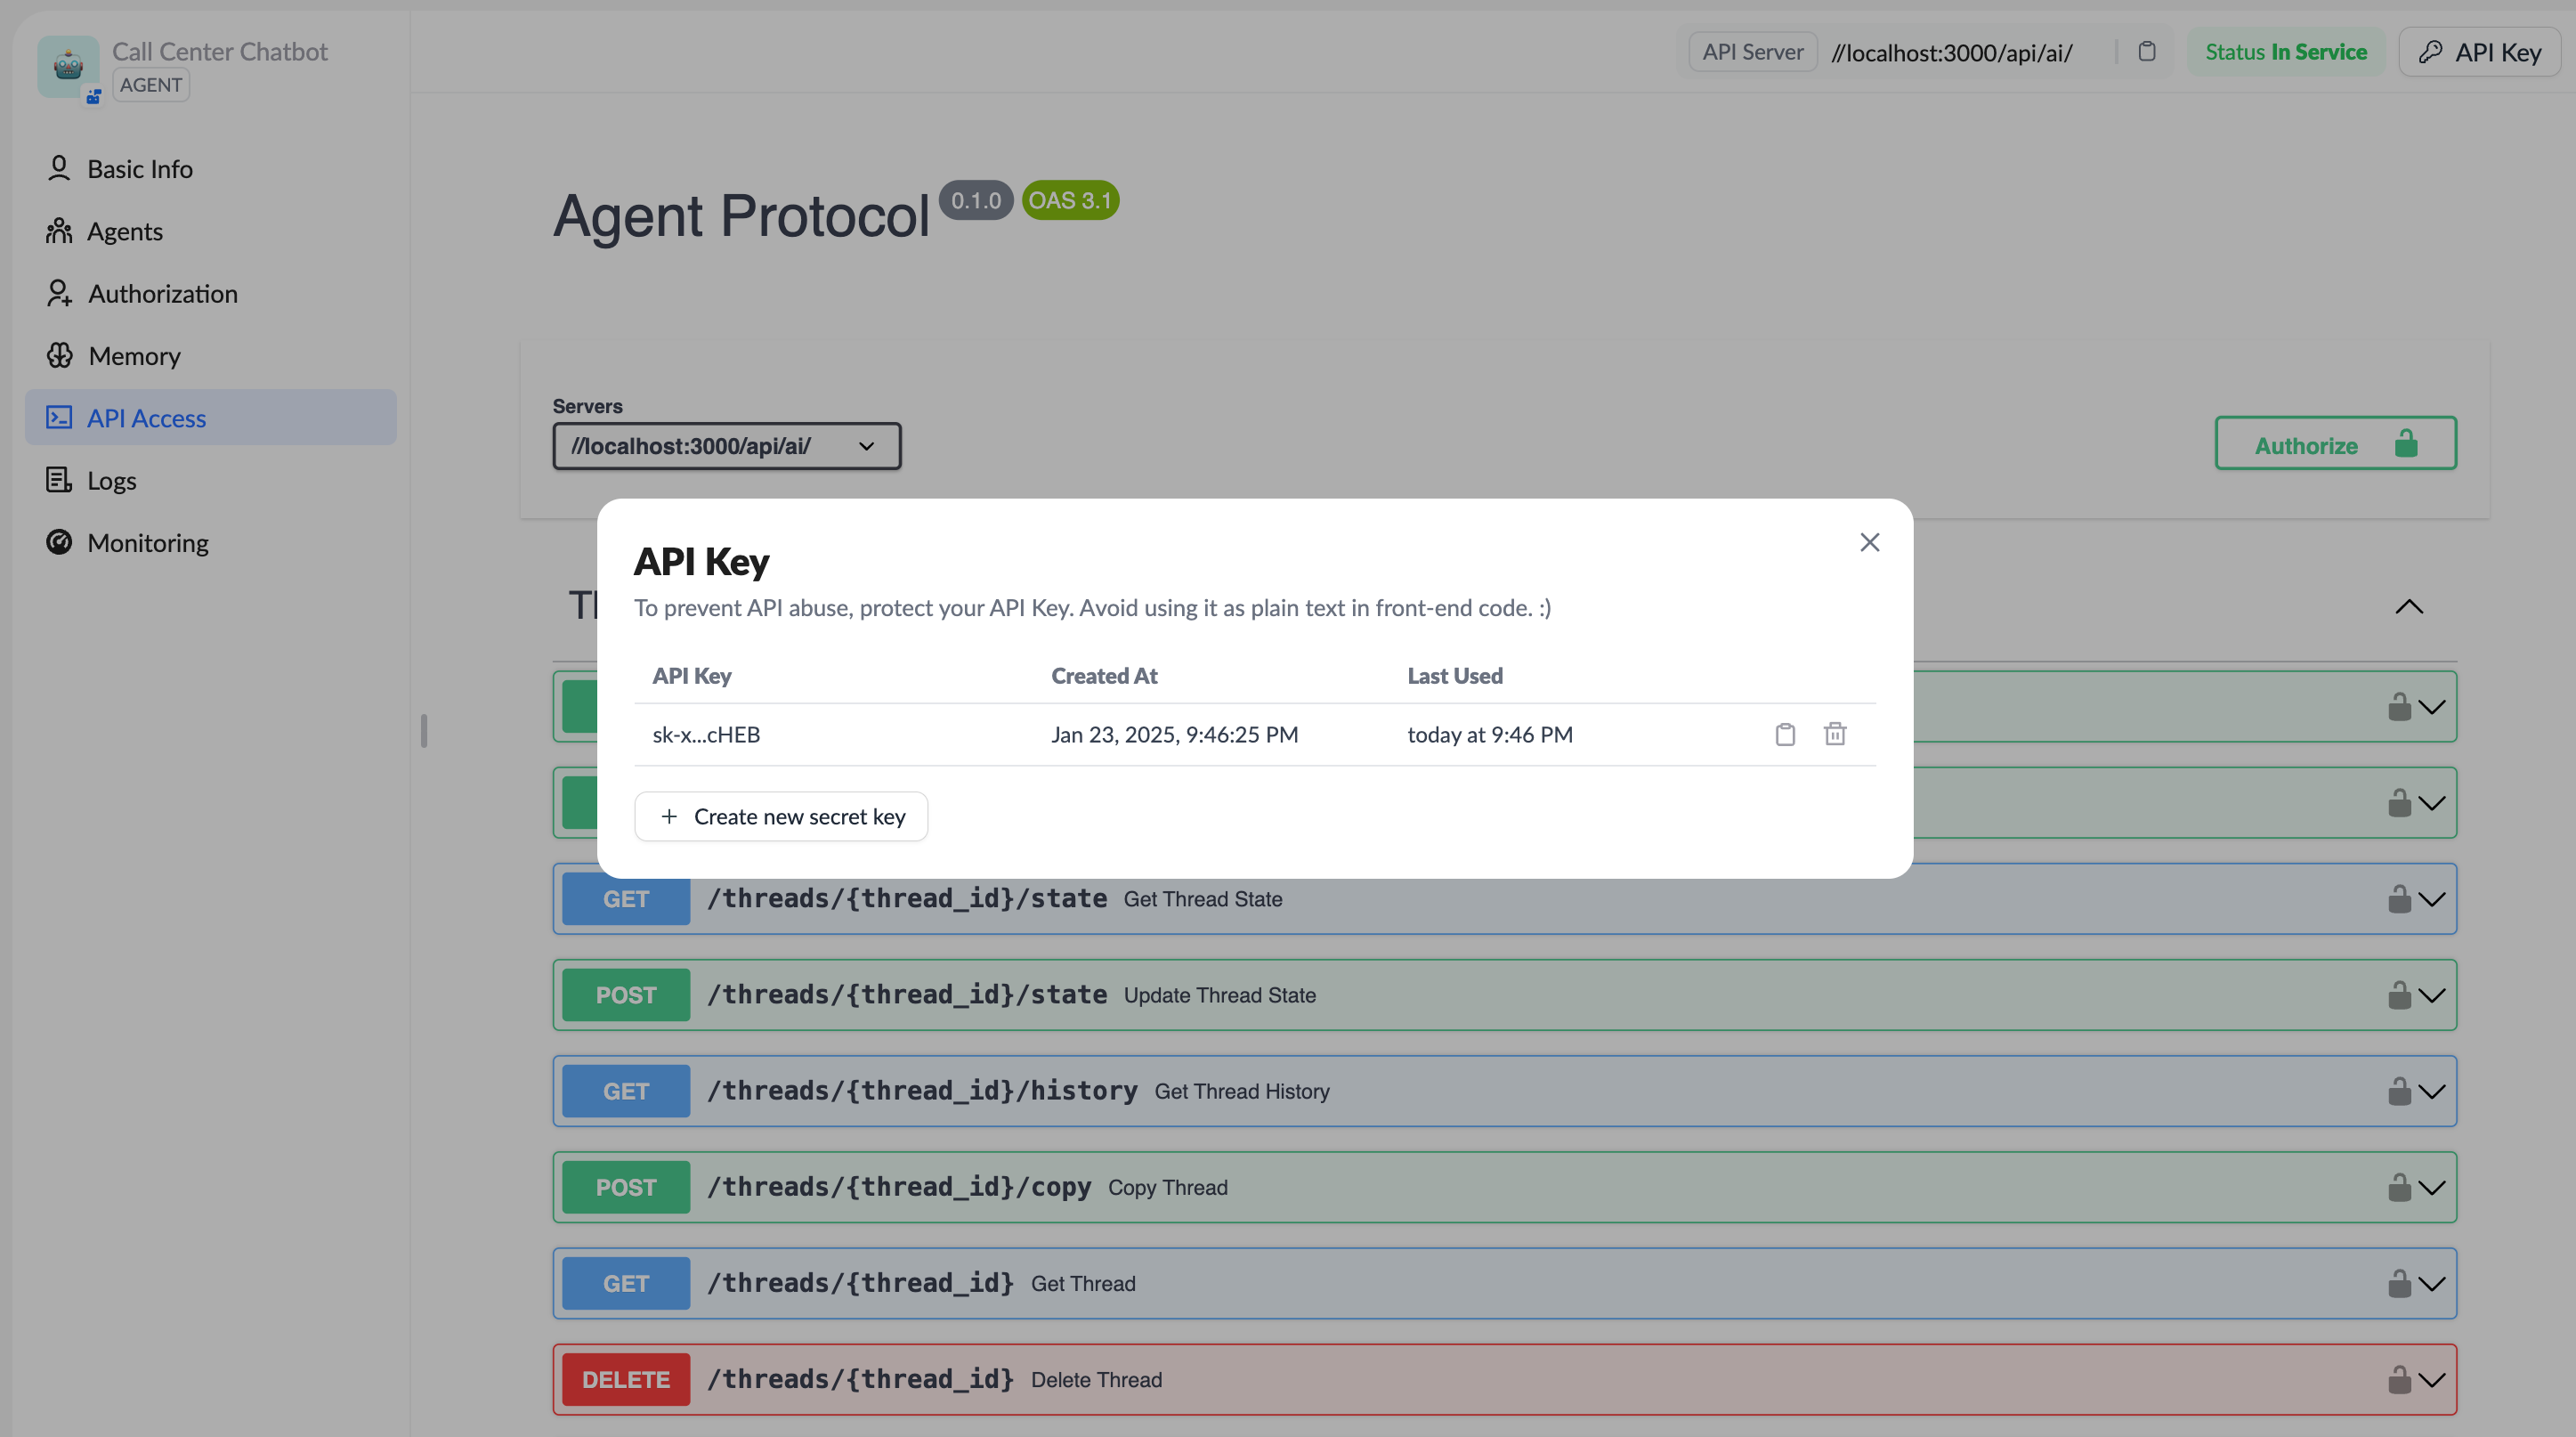 * 使用 Key 访问专家智能体的 Rest APIs,或者使用 [LangGraph SDK](https://docs.langchain.com/langgraph-platform/sdk) 访问 XpertAI 平台。
## 使用 LangGraph SDK 调用 XpertAI 平台
XpertAI 智能体平台,可通过 [LangGraph SDK](https://docs.langchain.com/langgraph-platform/sdk) (`@langchain/langgraph-sdk`(JS/TS SDK) / langgraph-sdk Python SDK)与其交互。
该 SDK 封装了与 LangGraph REST API 通信的核心能力,可以方便地管理助手 (assistants)、线程 (threads)、运行 (runs)、持久存储 (store) 等核心组件。
参考代码 [XpertAI SDK 示例](https://github.com/xpert-ai/xpertai-sdk)
### 1. 安装
确保已经安装 Node.js 环境,然后在项目中安装 SDK:
```bash theme={null}
# 使用 pnpm 安装
pnpm add @langchain/langgraph-sdk
# 或使用 npm
npm install @langchain/langgraph-sdk
```
SDK 默认会连接到 `http://localhost:8123`(如使用 `langgraph-cli` 本地启动);否则需在配置时指定 API URL 或 `apiKey` ([npm][1])。
### 2. 初始化客户端
在 JavaScript/TypeScript 中,可以这样创建一个 `Client` 实例:
```ts theme={null}
import { Client } from "@langchain/langgraph-sdk";
const client = new Client({
apiUrl: "https://api.xpertai.cn/api/ai/", // Your baseUrl of XpertAI server.
apiKey: "your-api-key", // API Key of xpert
})
```
如未显式配置,SDK 会默认连接到本地 `http://localhost:8123` ([npm][2])。
### 3. 管理数字专家(智能体)
#### 列出已有数字专家
```ts theme={null}
import { Client, Assistant } from "@langchain/langgraph-sdk";
// List all xperts
const xperts: Assistant[] = await client.assistants.search({
metadata: null,
offset: 0,
limit: 10,
})
console.log("Experts:", xperts);
```
每个数字专家就是一个 assistant ([npm][2], [LangGraph][3])。
#### 获取单个数字专家
```ts theme={null}
const xpert = await client.assistants.get(xpertId);
```
### 4. 创建与管理 Threads(线程)
#### 创建新线程(空状态)
```ts theme={null}
const thread = await client.threads.create(); // 或传入 threadId、metadata 等初始化参数
console.log("New Thread:", thread);
```
示例中,返回包含 `thread_id`、`status` 等属性 ([LangGraph][4])。
#### 预填充状态
```ts theme={null}
const threadWithState = await client.threads.create({
threadId: "xxxxxxx",
ifExists: 'raise'
});
```
这样可在创建时直接注入线程ID ([LangGraph][4])。
#### 查询线程列表 & 获取状态
```ts theme={null}
const list = await client.threads.search({ limit: 10, offset: 0 });
const singleThread = await client.threads.get(thread.thread_id);
const history = await client.threads.getHistory(thread.thread_id, { limit: 50 });
```
### 5. 启动运行(Runs)
可以发起对某个数字专家在线程中的运行,包括支持流式返回。
#### 启动流式返回的运行
```ts theme={null}
const stream = client.runs.stream(thread.thread_id, assistant.assistant_id, {
input: {
input: "Tell me a joke.", // more parameters
},
});
for await (const chunk of streamResponse) {
const data = (<{ type: 'message', data: string | {type: 'text' | string; text?: string; data?: any} }>chunk.data)
// Output text messages only
if (data.type === 'message') {
if (typeof data.data === 'string') {
process.stdout.write(data.data)
} else if (data.data.type === 'text') {
process.stdout.write(data.data.text ?? '')
} else {
// console.log(`Component:`, data.data);
}
}
}
```
这样可边生成边处理响应,适合交互式场景 ([npm][2])。
#### 其他运行操作示例
```ts theme={null}
const run = await client.runs.create(thread.thread_id, assistant.assistant_id, { input: { ... } });
const result = await client.runs.join(thread.thread_id, run.run_id);
await client.runs.cancel(thread.thread_id, run.run_id);
const runsList = await client.runs.list(thread.thread_id, { limit: 10 });
```
### 6. 使用 Store(持久存储)
存储会话中或任务中需要跨请求保存的数据。
```ts theme={null}
// 写入
await client.store.putItem([xpert_id], "key1", { value: 42 });
// 读取
const item = await client.store.getItem([xpert_id], "key1");
// 列出命名空间
const namespaces = await client.store.listNamespaces({
prefix: [xpert_id],
maxDepth: 2,
limit: 10
});
// 搜索
const found = await client.store.searchItems({ namespacePrefix: "my", query: "42" });
```
详细接口如 `StoreClient` 所定义 ([LangGraph][3])。
### 7. XpertAI 平台集成 Tips
* **配置默认 API 地址与密钥**:API 地址需要显式指定,密钥可使用环境变量 `LANGGRAPH_API_KEY` 统一配置。
* **Stream 输出到前端**:适用 React 等前端,可以通过 SDK 的流式能力构建实时对话界面。
* **持久记忆**:通过 Store 功能保存会话关键数据,增强智能体的记忆能力。
[1]: https://www.npmjs.com/package/%40langchain/langgraph-sdk "@langchain/langgraph-sdk - npm"
[2]: https://www.npmjs.com/package/%40langchain/langgraph-sdk "@langchain/langgraph-sdk - npm"
[3]: https://langgraph.com.cn/cloud/reference/sdk/js_ts_sdk_ref/index.html "SDK (JS/TS) - LangChain 框架"
[4]: https://github.langchain.ac.cn/langgraph/cloud/how-tos/use_threads/ "线程 - LangChain 框架"
[5]: https://github.langchain.ac.cn/langgraph/cloud/reference/sdk/js_ts_sdk_ref/ "Js ts sdk ref - LangChain 框架"
## 参考
* [Agent Protocol](https://langchain-ai.github.io/agent-protocol/api.html)
* [Agent Protocol: Interoperability for LLM agents](https://blog.langchain.dev/agent-protocol-interoperability-for-llm-agents/)
## 更多信息
SDK 还在不断完善中,如有遇到问题或有建议,请加微信:xpertai 联系我们进行技术交流。
* 使用 Key 访问专家智能体的 Rest APIs,或者使用 [LangGraph SDK](https://docs.langchain.com/langgraph-platform/sdk) 访问 XpertAI 平台。
## 使用 LangGraph SDK 调用 XpertAI 平台
XpertAI 智能体平台,可通过 [LangGraph SDK](https://docs.langchain.com/langgraph-platform/sdk) (`@langchain/langgraph-sdk`(JS/TS SDK) / langgraph-sdk Python SDK)与其交互。
该 SDK 封装了与 LangGraph REST API 通信的核心能力,可以方便地管理助手 (assistants)、线程 (threads)、运行 (runs)、持久存储 (store) 等核心组件。
参考代码 [XpertAI SDK 示例](https://github.com/xpert-ai/xpertai-sdk)
### 1. 安装
确保已经安装 Node.js 环境,然后在项目中安装 SDK:
```bash theme={null}
# 使用 pnpm 安装
pnpm add @langchain/langgraph-sdk
# 或使用 npm
npm install @langchain/langgraph-sdk
```
SDK 默认会连接到 `http://localhost:8123`(如使用 `langgraph-cli` 本地启动);否则需在配置时指定 API URL 或 `apiKey` ([npm][1])。
### 2. 初始化客户端
在 JavaScript/TypeScript 中,可以这样创建一个 `Client` 实例:
```ts theme={null}
import { Client } from "@langchain/langgraph-sdk";
const client = new Client({
apiUrl: "https://api.xpertai.cn/api/ai/", // Your baseUrl of XpertAI server.
apiKey: "your-api-key", // API Key of xpert
})
```
如未显式配置,SDK 会默认连接到本地 `http://localhost:8123` ([npm][2])。
### 3. 管理数字专家(智能体)
#### 列出已有数字专家
```ts theme={null}
import { Client, Assistant } from "@langchain/langgraph-sdk";
// List all xperts
const xperts: Assistant[] = await client.assistants.search({
metadata: null,
offset: 0,
limit: 10,
})
console.log("Experts:", xperts);
```
每个数字专家就是一个 assistant ([npm][2], [LangGraph][3])。
#### 获取单个数字专家
```ts theme={null}
const xpert = await client.assistants.get(xpertId);
```
### 4. 创建与管理 Threads(线程)
#### 创建新线程(空状态)
```ts theme={null}
const thread = await client.threads.create(); // 或传入 threadId、metadata 等初始化参数
console.log("New Thread:", thread);
```
示例中,返回包含 `thread_id`、`status` 等属性 ([LangGraph][4])。
#### 预填充状态
```ts theme={null}
const threadWithState = await client.threads.create({
threadId: "xxxxxxx",
ifExists: 'raise'
});
```
这样可在创建时直接注入线程ID ([LangGraph][4])。
#### 查询线程列表 & 获取状态
```ts theme={null}
const list = await client.threads.search({ limit: 10, offset: 0 });
const singleThread = await client.threads.get(thread.thread_id);
const history = await client.threads.getHistory(thread.thread_id, { limit: 50 });
```
### 5. 启动运行(Runs)
可以发起对某个数字专家在线程中的运行,包括支持流式返回。
#### 启动流式返回的运行
```ts theme={null}
const stream = client.runs.stream(thread.thread_id, assistant.assistant_id, {
input: {
input: "Tell me a joke.", // more parameters
},
});
for await (const chunk of streamResponse) {
const data = (<{ type: 'message', data: string | {type: 'text' | string; text?: string; data?: any} }>chunk.data)
// Output text messages only
if (data.type === 'message') {
if (typeof data.data === 'string') {
process.stdout.write(data.data)
} else if (data.data.type === 'text') {
process.stdout.write(data.data.text ?? '')
} else {
// console.log(`Component:`, data.data);
}
}
}
```
这样可边生成边处理响应,适合交互式场景 ([npm][2])。
#### 其他运行操作示例
```ts theme={null}
const run = await client.runs.create(thread.thread_id, assistant.assistant_id, { input: { ... } });
const result = await client.runs.join(thread.thread_id, run.run_id);
await client.runs.cancel(thread.thread_id, run.run_id);
const runsList = await client.runs.list(thread.thread_id, { limit: 10 });
```
### 6. 使用 Store(持久存储)
存储会话中或任务中需要跨请求保存的数据。
```ts theme={null}
// 写入
await client.store.putItem([xpert_id], "key1", { value: 42 });
// 读取
const item = await client.store.getItem([xpert_id], "key1");
// 列出命名空间
const namespaces = await client.store.listNamespaces({
prefix: [xpert_id],
maxDepth: 2,
limit: 10
});
// 搜索
const found = await client.store.searchItems({ namespacePrefix: "my", query: "42" });
```
详细接口如 `StoreClient` 所定义 ([LangGraph][3])。
### 7. XpertAI 平台集成 Tips
* **配置默认 API 地址与密钥**:API 地址需要显式指定,密钥可使用环境变量 `LANGGRAPH_API_KEY` 统一配置。
* **Stream 输出到前端**:适用 React 等前端,可以通过 SDK 的流式能力构建实时对话界面。
* **持久记忆**:通过 Store 功能保存会话关键数据,增强智能体的记忆能力。
[1]: https://www.npmjs.com/package/%40langchain/langgraph-sdk "@langchain/langgraph-sdk - npm"
[2]: https://www.npmjs.com/package/%40langchain/langgraph-sdk "@langchain/langgraph-sdk - npm"
[3]: https://langgraph.com.cn/cloud/reference/sdk/js_ts_sdk_ref/index.html "SDK (JS/TS) - LangChain 框架"
[4]: https://github.langchain.ac.cn/langgraph/cloud/how-tos/use_threads/ "线程 - LangChain 框架"
[5]: https://github.langchain.ac.cn/langgraph/cloud/reference/sdk/js_ts_sdk_ref/ "Js ts sdk ref - LangChain 框架"
## 参考
* [Agent Protocol](https://langchain-ai.github.io/agent-protocol/api.html)
* [Agent Protocol: Interoperability for LLM agents](https://blog.langchain.dev/agent-protocol-interoperability-for-llm-agents/)
## 更多信息
SDK 还在不断完善中,如有遇到问题或有建议,请加微信:xpertai 联系我们进行技术交流。